How to Use LUTs: A Step-by-Step Guide for Beginners
LUTs take the slowest part of color grading, building a look from a flat image, and collapse it into a single step. Most of the time that result is a starting point that gets refined, and depending on the footage and personal taste, it is sometimes all the grade a shot needs. But knowing what a LUT is and actually using one are two different things. If you are still unclear on what a LUT actually does, start with our guide to what a LUT actually is. This guide walks through the exact steps to apply LUTs in the tools used for professional video production, whether on desktop or mobile.
Why Use LUTs?
LUTs speed up the color grading workflow by applying pre-made color corrections instantly. Instead of manually building saturation, hue, shadow, midtone and highlight relationships from nothing, a single LUT establishes all of them at once, ready to be refined.
For professionals working on tight deadlines, this matters. Building a look from scratch can take hours. Starting from a LUT removes most of that groundwork, leaving the time for the adjustments that actually make the shot specific. For teams working on multiple projects, LUTs ensure consistency. One branded LUT applied across an entire season of content means all episodes will have the same color treatment, which strengthens brand identity.
For beginners, LUTs remove the guesswork. Without years of color theory training, it is difficult to know where to start with shadow tones or saturation curves. A pre-made LUT gives a professional starting point immediately, which is far easier to refine than a flat, ungraded image. From there it is easy to adjust exposure, contrast, saturation and skin tones to taste, or to leave the shot as it is if the LUT already lands the look.
What You Need Before You Start
Properly exposed footage is the foundation. LUTs cannot fix exposure problems or extreme color casts. If footage is underexposed or has a strong blue or orange color cast, a LUT will only amplify those problems.
Think of a LUT like a filter on social media: it enhances what is already there, but it cannot fix a blurry or dark photo. The same principle applies to video color grading.
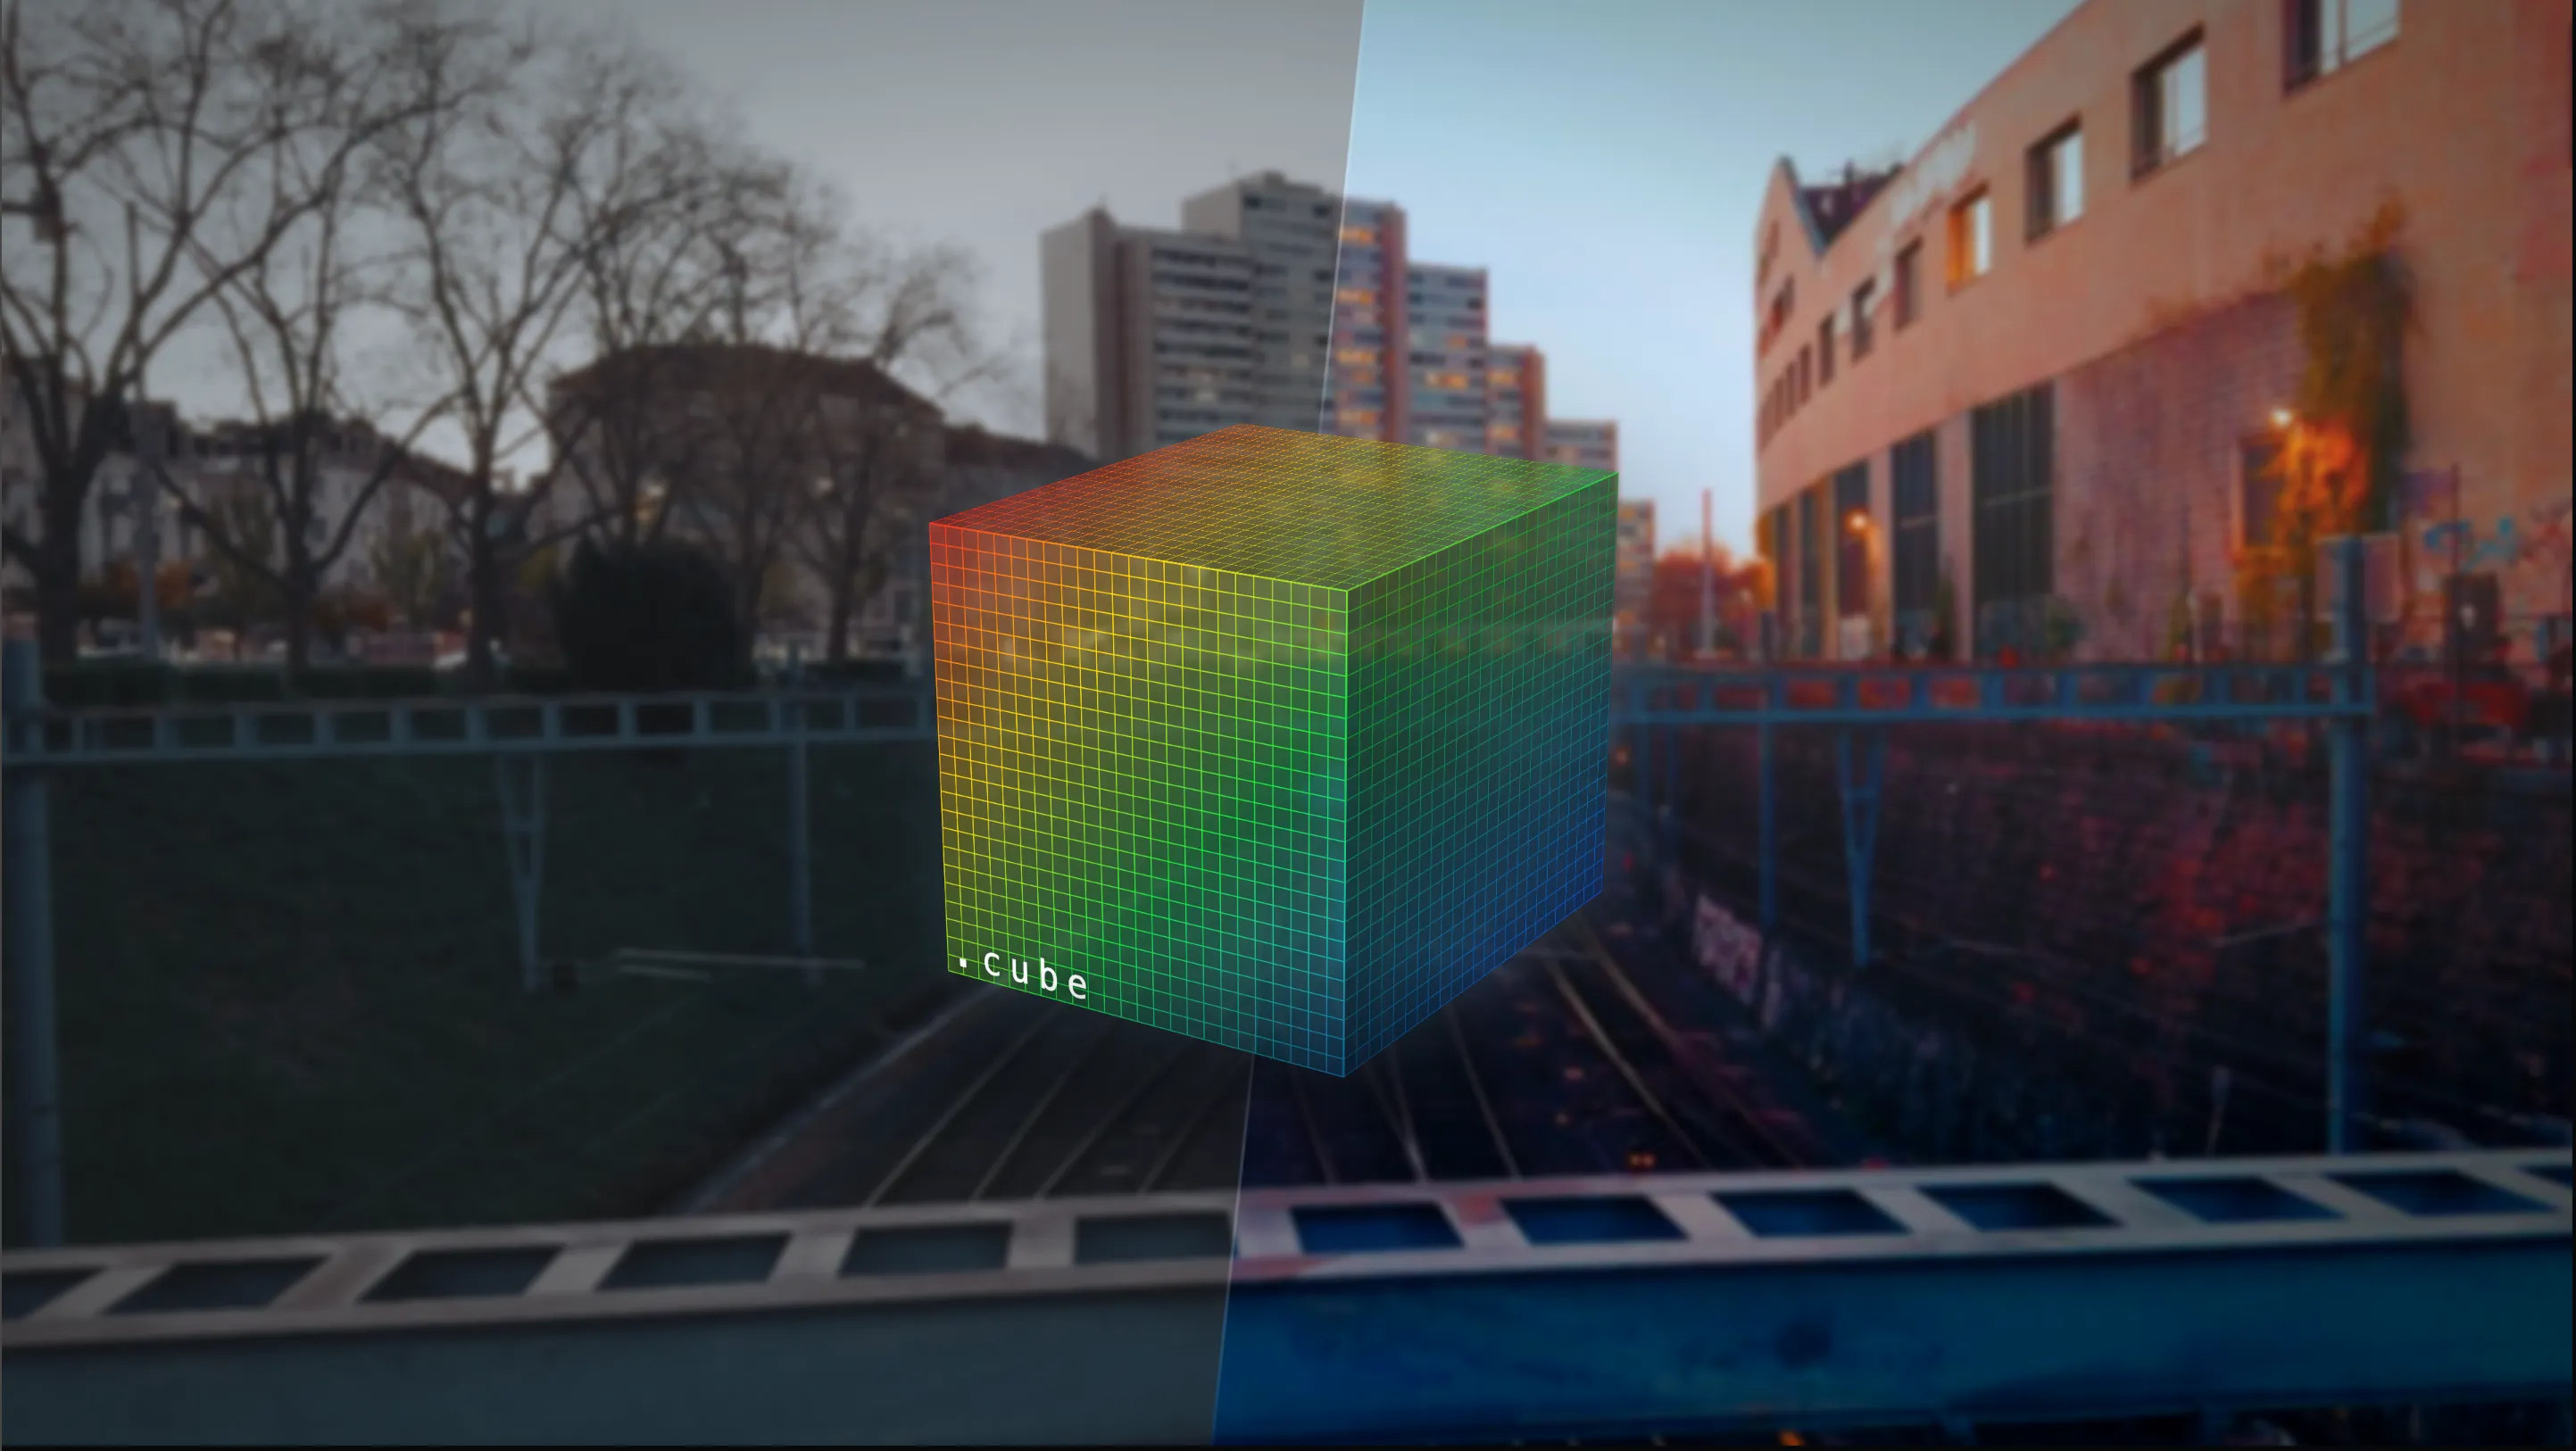
- A source LUT: either a built-in option from the software or a custom .cube file.
- The right color space for the footage: LOG footage needs a different workflow than Rec.709 footage.
- Accurate monitor calibration: an uncalibrated display makes it impossible to judge whether a LUT actually looks right.
How to Use LUTs in DaVinci Resolve
DaVinci Resolve is the industry standard for color grading and handles LUTs with full control. Multiple LUTs can be layered on a single clip, each with adjustable intensity, and real-time preview is available at all times.
Resolve is used by major studios and broadcast facilities because of its precision. If precision color grading is the goal, Resolve is the right choice.
Step 1: Import Your Footage
Open DaVinci Resolve and import the video clip into the Edit page. Drag it to the timeline, then switch to the Color page by clicking the Color tab at the top of the screen.
Step 2: Add a LUT via the LUT Browser
In the Color page, click the LUTs button in the top left corner of the interface to open the LUT Browser. Browse the folders to see the built-in options, ranging from camera-specific conversion LUTs to creative film looks. Hover over a LUT thumbnail to preview it live in the Viewer.
Double-click a LUT to apply it to the selected clip. The effect is immediately visible in the Viewer.
Step 3: Adjust LUT Intensity
Applying a LUT at 100% is almost always too strong. To blend it, apply the LUT on its own node and reduce that node’s contribution.
Create a new node by right-clicking in the node graph area and selecting “Add Node” > “Add Serial”, or press Alt+S (Option+S on Mac). Apply the LUT to this node. Then open the Key palette and lower the Key Output Gain until the blend looks right. This mixes the LUT with the underlying image, creating a more natural final result.
Many professionals keep a “LUT node” separate from their color correction node. This way, if the LUT needs to be disabled or tweaked later, the original color work is still intact.
Step 4: Export
Once satisfied with the grade, go to the Deliver page and export. DaVinci Resolve exports the LUT as part of the final render, so no additional steps are needed. The LUT is baked into the video file.
How to Import Custom .cube Files in DaVinci Resolve
Custom .cube files give complete flexibility for branded or specialized color grades. To import one, place the .cube file in DaVinci Resolve LUT directory.
For Mac: ~/Library/Application Support/DaVinci Resolve/LUT
For Windows: C:\Users[YourUsername]\AppData\Roaming\Blackmagic Design\DaVinci Resolve\Support\LUT
Restart DaVinci Resolve. The custom LUT will appear in the LUT Browser under a new category and can be used like any built-in LUT. This is particularly useful for production teams that have created proprietary color grades.
How to Use LUTs in Premiere Pro
Premiere Pro Lumetri Color tool integrates LUT application directly into the color correction workflow. This approach is fast and works well for applying consistent color grades across multiple clips in a project.
Premiere Pro is popular among editors who need to color grade and edit in the same timeline without switching applications.
Step 1: Load Footage
Import the clip and drag it to the timeline. Click on the clip to select it.
Step 2: Open Lumetri Color
Go to Window > Lumetri Color to open the color panel. If it is not visible, it may already be open as a panel on the right side of the screen.
Step 3: Apply a LUT from the Input LUT Dropdown
The Input LUT dropdown loads built-in or custom LUTs. Click the Browse button next to “Input LUT” to select from the system.
Premiere Pro includes some basic LUTs by default, but most color graders import custom .cube files. Click the folder icon next to the dropdown to navigate to the LUT file location. Organize custom .cube files in a dedicated folder for easy access.
Step 4: Adjust Intensity with Adjustment Layers or Curves
The Lumetri panel does not have a direct “LUT Opacity” slider, so adjustment is done by applying the LUT to an adjustment layer and reducing the layer opacity, or by using the Curves tool to fine-tune the result. You can also load the LUT in the Creative tab, which includes a dedicated Intensity slider for full control.
For faster workflow: create a new adjustment layer, apply the LUT to it, then reduce the adjustment layer opacity until the effect feels right. This method keeps the original clips untouched, which is safer for professional workflows.
Step 5: Export
Go to File > Export > Media. The LUT is baked into the rendered output automatically at the resolution and frame rate specified in the export settings.
How to Import Custom .cube Files in Premiere Pro
Premiere Pro reads .cube files directly from the system without installation. No special setup is required.
When the folder icon next to Input LUT is clicked, browse to wherever the .cube files are stored. Premiere Pro will load and apply them immediately. Many color graders organize .cube files in a dedicated folder on the desktop or in Documents for easy access. Some teams store LUTs in shared cloud folders for team-wide access.
How to Use LUTs on iPhone with LUT Studio
LUT Studio brings professional color grading to your iPhone, with auto-detect LOG format and automatic Rec.709 conversion. The workflow is designed for mobile, so it is quick and intuitive.
For creators shooting on iPhone, LUT Studio eliminates the need to transfer footage to a computer for color grading. Grade, export, and upload to social media all on device.
Step 1: Open LUT Studio and Import Video
Open the LUT Studio app and tap the plus button to import a video from the Photos library or camera roll. Select the video clip that needs color grading.
Step 2: Select a LUT from the Built-in Library
LUT Studio auto-detects the footage color space. If the video was shot in Apple Log, it will recognize it automatically. Swipe through the built-in creative LUT library at the bottom of the screen to preview different looks in real-time on the actual footage.
Step 3: Adjust Intensity
Tap on a LUT to select it, then use the intensity slider at the bottom to blend the LUT from 0% (no effect) to 100% (full effect). Pull it back until the look sits naturally on the shot without oversaturating the image or losing detail. From there, refine exposure, contrast, saturation and temperature until the shot matches the intended look.
Step 4: Import Custom .cube Files
Tap the Import button and select the .cube file from cloud storage or local files.
Once imported, the custom LUTs appear in the library and can be used like any built-in LUT. This is particularly useful for maintaining consistent color grading across multiple projects or for sharing branded LUTs with team members.
Step 5: Compare and Export
Use the before/after comparison view to ensure the color grade looks right across the entire clip. Tap Export. LUT Studio exports at full resolution, so the grade is preserved at the highest quality for social media or any other use.
Quick Reference: LUT Workflows Across Platforms
The table below shows at a glance how to load, adjust, and use LUTs across the most common tools. Each platform has a different interface, but the core principle is the same: load the LUT, blend at appropriate intensity, then export.
| App | How to Load a LUT | How to Adjust Intensity | Free? |
|---|---|---|---|
| DaVinci Resolve | LUT Browser on Color page | New node with opacity slider | Yes (free version available) |
| Premiere Pro | Lumetri Color > Input LUT | Adjustment layer opacity | No (subscription) |
| LUT Studio | Built-in library or Import | Intensity slider (0-100%) | Free (premium LUTs available) |
Common Mistakes When Using LUTs
Expecting one LUT to carry every shot. A LUT that lands perfectly on one clip can miss on the next, because exposure, lighting and skin tones vary between shots. Check each clip after applying, and adjust exposure, contrast, saturation or temperature where the LUT does not quite fit.
Using LUTs at 100% intensity. Most LUTs are designed to be blended rather than run at full strength, which often looks unnatural and over-processed. Use the intensity slider to dial in the right balance for the specific footage.
Forgetting to check color space settings. Some LUTs expect LOG input, others expect Rec.709. If a LUT does not look right, check the color space settings in the app and ensure the correct mode is selected (log vs. Rec.709).
Applying multiple LUTs in sequence without blending. Each LUT compounds the previous one. If two creative LUTs are stacked at full intensity, the result will likely be over-processed and unusable. Blend each LUT separately or apply them to different nodes for control.
Ignoring monitor calibration. A LUT may look perfect on an uncalibrated screen but harsh or dull on a properly calibrated monitor. For professional work, ensure the display is calibrated to a standard like Rec.709 or DCI-P3.
FAQ
What is the difference between a technical LUT and a creative LUT?
Technical LUTs handle color space conversion, while creative LUTs add mood and style. A Rec.709 conversion LUT transforms flat LOG footage into the standard Rec.709 color space. Creative LUTs add color grade, contrast, and artistic intent. For a deeper explanation, see what a LUT actually is.
Can the same LUT be used across different footage?
Yes, if the footage is shot in the same format and lighting conditions. If all clips are shot in Apple Log on the same iPhone model with similar lighting, the same LUT will work across multiple clips. Different cameras and lighting conditions require different adjustments.
What should be done if a LUT looks wrong or too strong?
Start by pulling the intensity down. If it still looks wrong, the footage may have exposure or white balance problems, or it may be in a different color space than the LUT expects.
Do expensive LUTs need to be purchased?
No, most color grading software includes free built-in LUTs that are sufficient for everyday work. Premium LUT packs add variety and specialized looks, but they are optional for basic color grading.
How can custom LUTs be created?
Most professional color grading software allows exporting custom LUTs. DaVinci Resolve, Premiere Pro, and other tools let users export color corrections as .cube LUT files. This is how custom LUT packs are created and shared.
What color space should footage be in before applying a LUT?
It depends on the LUT design. Technical LUTs expect LOG input and output Rec.709. Creative LUTs are typically designed for either LOG or Rec.709. Always check the LUT documentation or test on a small section first.
Why do LUTs look different in different apps?
Different apps interpret .cube files slightly differently due to internal color pipeline differences. A LUT may appear slightly more saturated in one app and slightly less in another. This is normal and usually negligible for most applications.
Should LUTs be applied to the entire timeline or individual clips?
Individual clip application is best for maximum control. If all clips are shot identically, a LUT can be applied to a master color correction layer to save time, but individual clip application is safer and more flexible.
Apply Your First LUT in Under 60 Seconds
You now know how LUTs work in DaVinci Resolve, Premiere Pro and on iPhone. The fastest way to see results is to apply a LUT to your own footage. LUT Studio imports any .cube file, auto-detects LOG formats, and lets you preview looks in real time on the actual clip.
Want to bring professional color grading to an iPhone? Download LUT Studio from the App Store and start applying custom LUTs to footage in seconds. Color grading should not be complicated, and with the right tools, it is not.
Download LUT Studio