What Is a LUT? The Only Guide You Actually Need
If you have spent any time around video editing or color grading, you have heard the term “LUT” thrown around. Maybe someone told you to “just slap a LUT on it.” Maybe you downloaded a pack of free LUTs and had no idea what to do with them. Maybe you are still not entirely sure what the word even means.
You are not alone. LUTs are one of the most used and least understood tools in video production. Most guides either bury you in math or skip the details entirely.
This one does neither. Here is everything you need to know about LUTs.
What Is a LUT, Exactly?
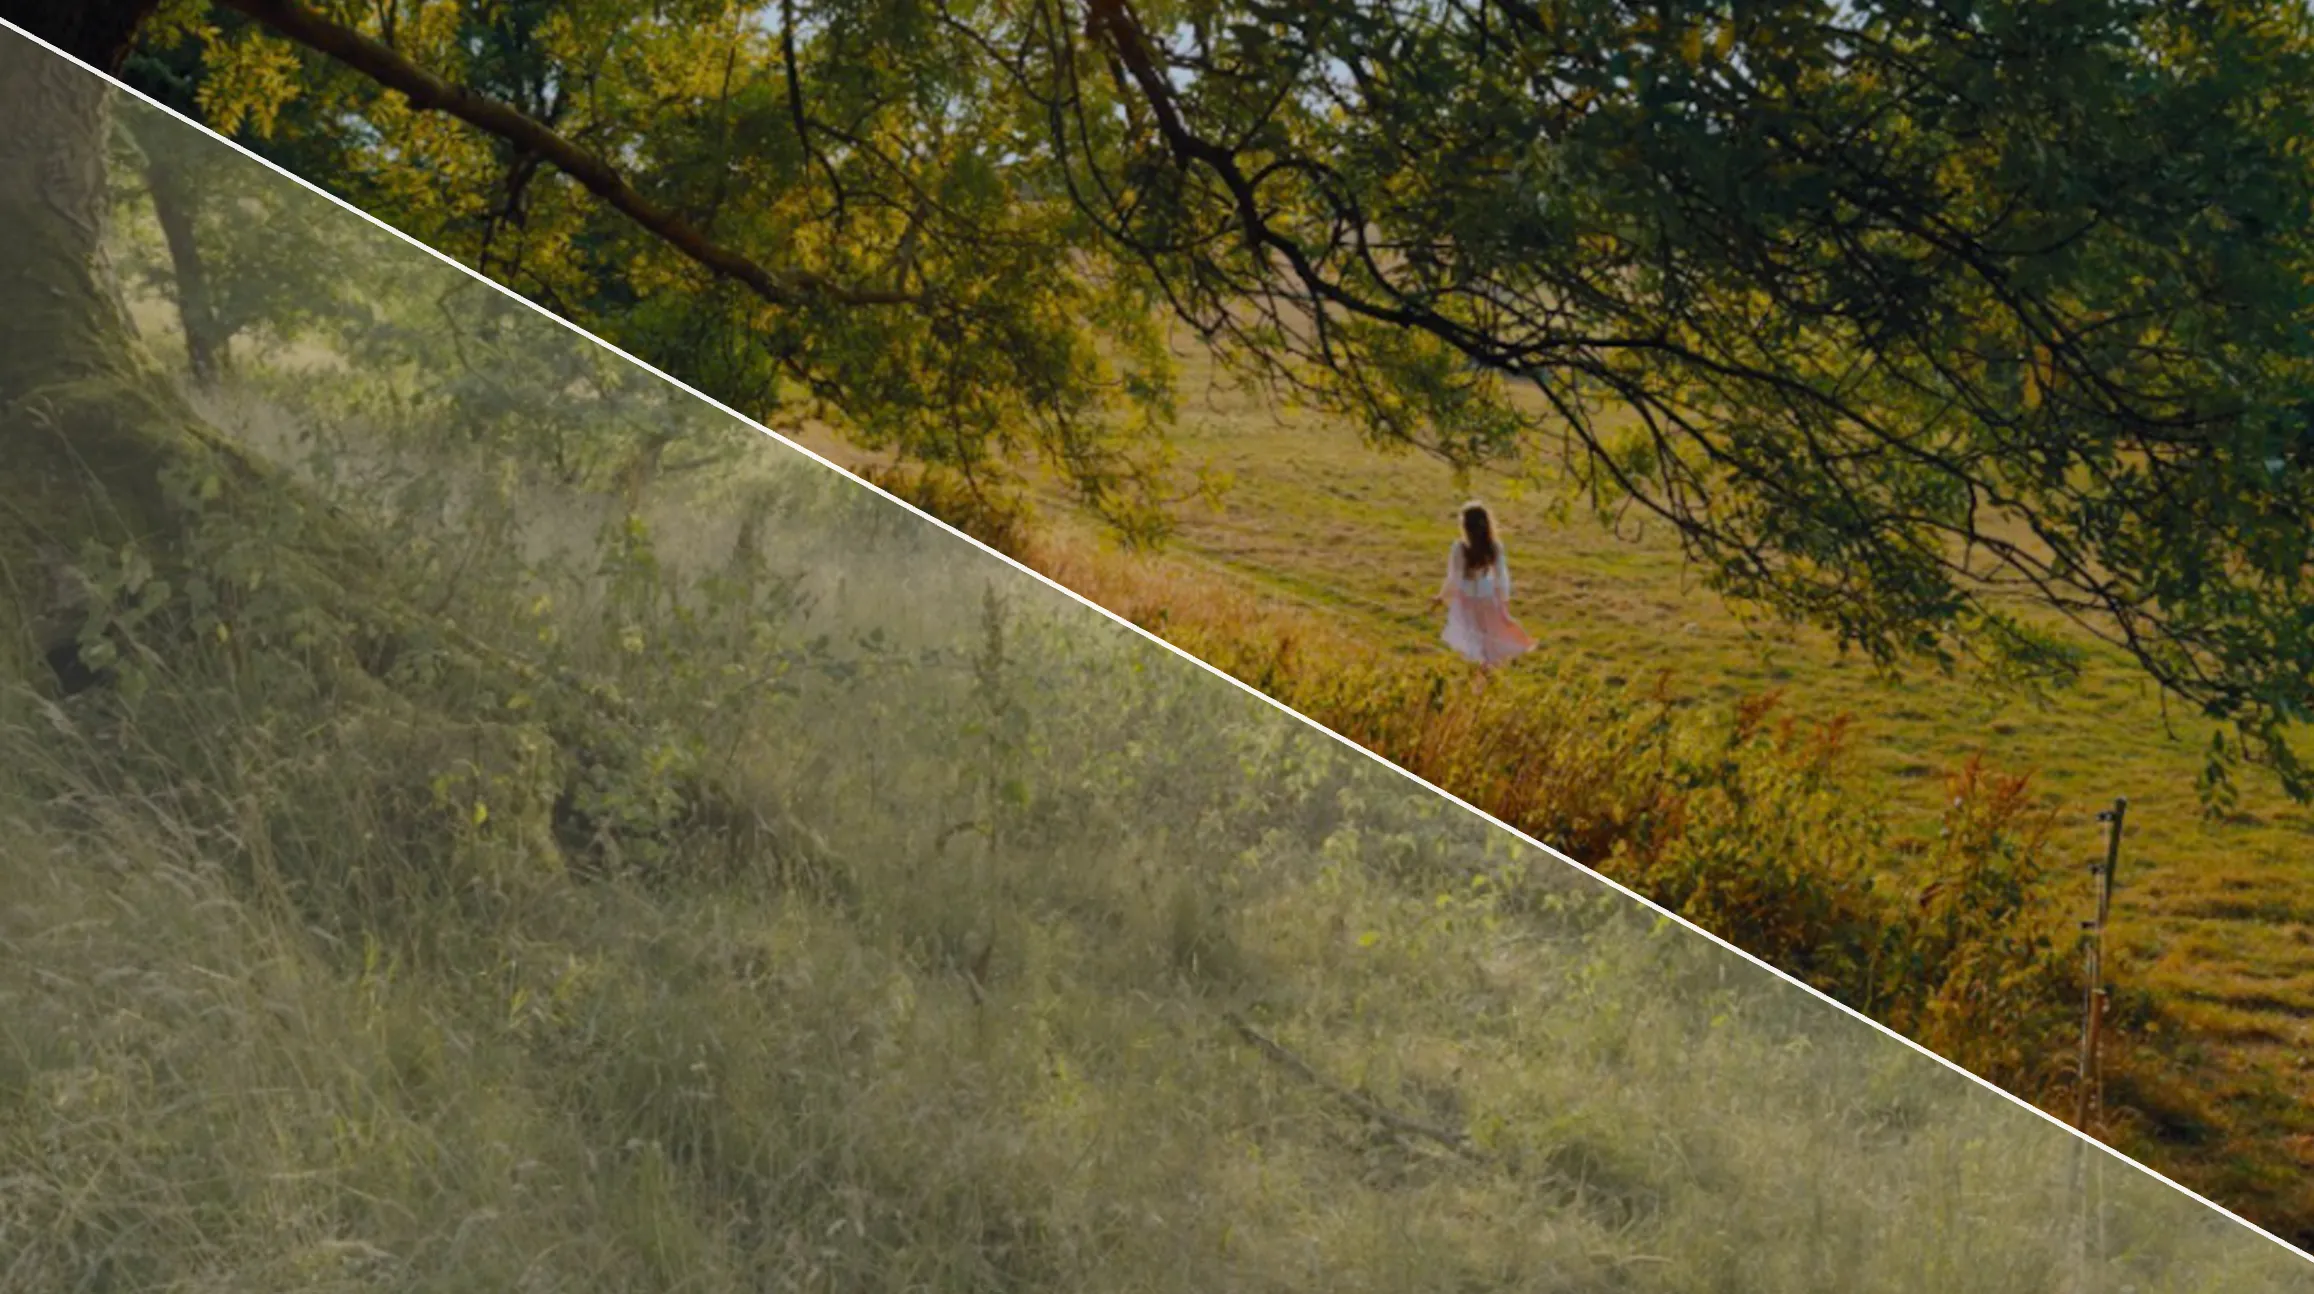
A LUT (Look-Up Table) is a preset color formula that takes the color values in your footage and maps them to a different set of values. Think of it like a translation layer between what your camera recorded and what you want the final image to look like.
Here is the simplest way to put it: your camera captures data. A LUT tells the software how to reinterpret that data visually. Instead of manually dragging sliders for contrast, saturation, hue, and tone curves across hundreds of individual values, a LUT does it all at once based on a predefined set of instructions.
That is what makes them so powerful. Work that would take twenty minutes of manual adjustment is established in one click, ready to be refined.
The file format you will see most often is .cube. It is the universal standard. Almost every editing application on the market reads .cube files, from DaVinci Resolve and Premiere Pro on desktop to mobile apps like LUT Studio.
How LUTs Actually Work (Without the Math Degree)
Every pixel in your video has three values: red, green, and blue (RGB). A LUT takes each unique combination of those three values and maps it to a new combination.
Imagine a massive spreadsheet. In column A, you have every possible color your camera can record. In column B, you have the color you want it to become. The LUT is that spreadsheet. The software reads each pixel, checks the table, and swaps it out.
In practice, no LUT contains every single possible color. That would be millions of entries. Instead, a 3D LUT samples colors at regular intervals across a grid (commonly 33x33x33 points) and interpolates everything in between. The software calculates the “in-between” colors using math, which is why 3D LUTs produce smooth, natural-looking results even though they are technically shortcuts.
You do not need to understand the math to use LUTs well. But understanding this basic concept will save you from the biggest mistake most people make: treating a LUT like a magic button instead of a tool.
Types of LUTs: Technical vs. Creative
Not all LUTs do the same thing. There are two broad categories.
Technical LUTs (Transform LUTs)
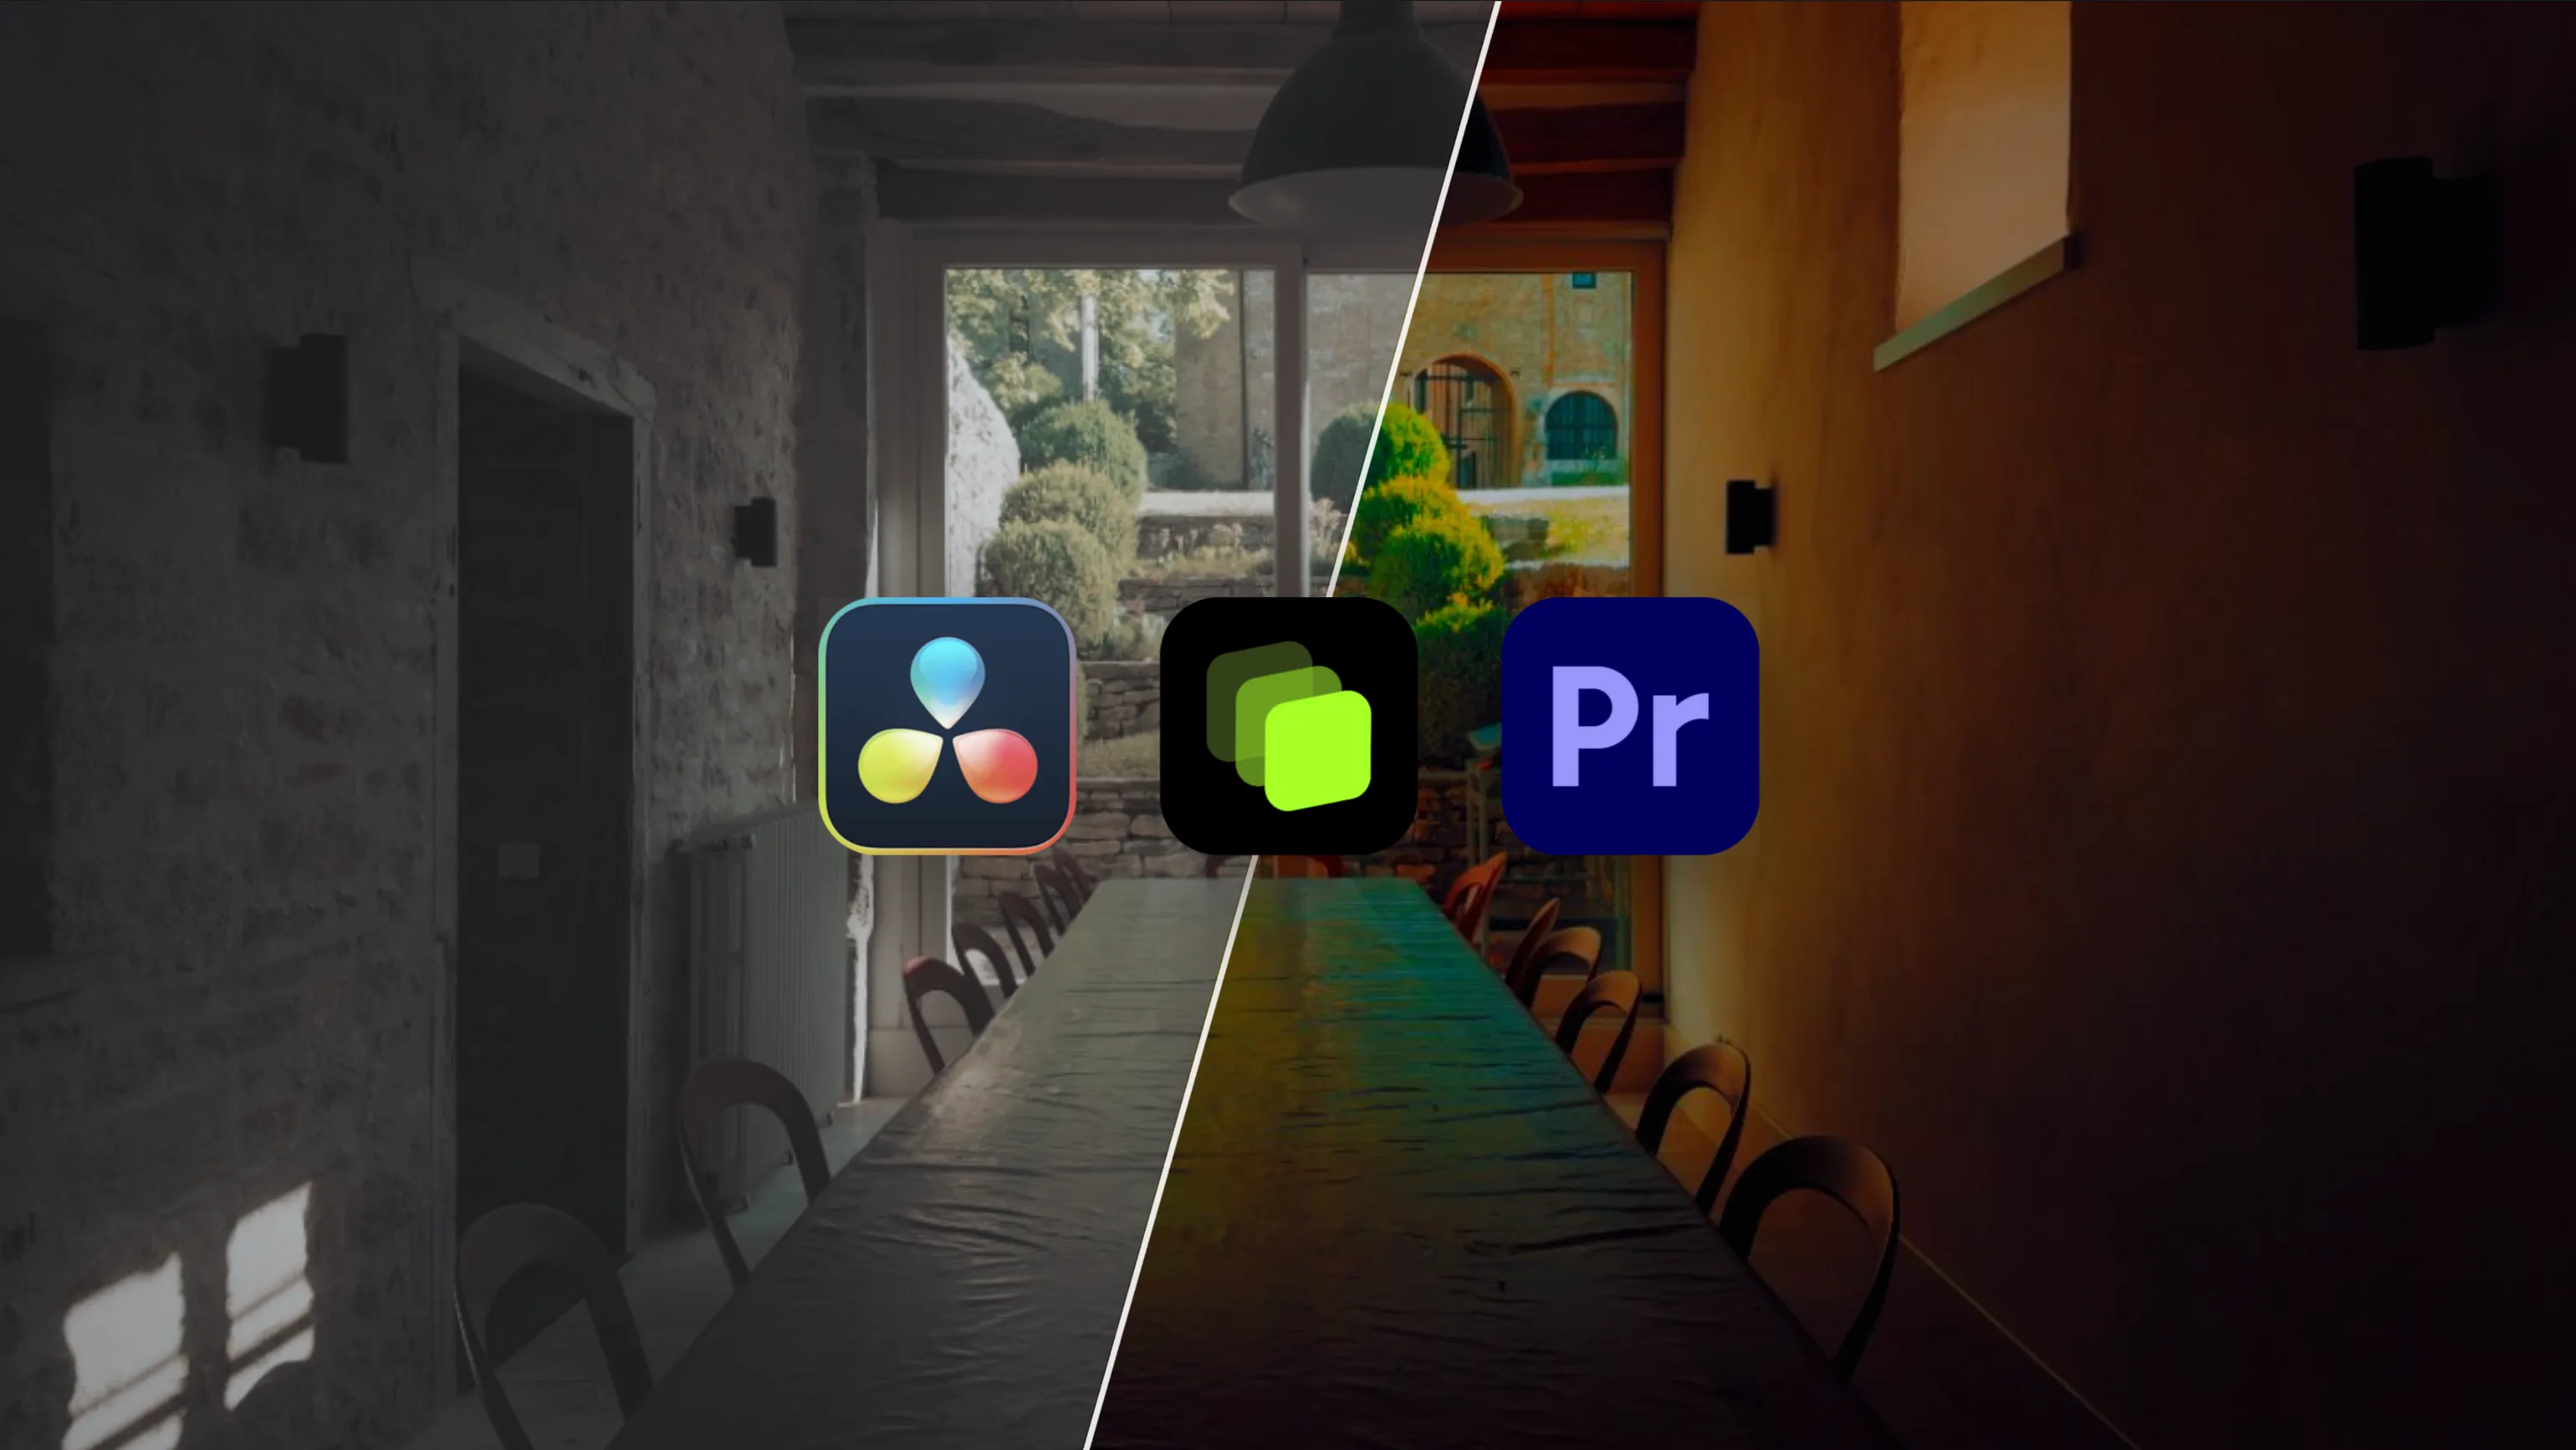
These convert your footage from one color space to another. The most common example: a LOG-to-Rec.709 LUT. If you shoot in Apple Log, Sony S-Log, or any LOG format, your raw footage looks flat and desaturated on purpose. A technical LUT converts it to Rec.709 (the standard color space for screens) so it looks “normal” again.
Technical LUTs are not creative choices. They are functional tools. Think of them as the foundation.
Creative LUTs
These are the ones people usually mean when they say “LUT.” A creative LUT applies a specific visual style to your footage: warm tones, crushed blacks, a teal-and-orange cinema look, a faded film stock vibe. Whatever aesthetic you are going for, there is probably a creative LUT for it.
Most professional colorists use creative LUTs as a starting point, then fine-tune from there. They rarely use one straight out of the box at full intensity.
1D vs. 3D LUTs
You will also see LUTs categorized by their technical structure.
| 1D LUT | 3D LUT | |
|---|---|---|
| What it controls | Brightness only (R, G, B independently) | Hue, saturation, and brightness together |
| Color mixing | Cannot mix color channels | Full cross-channel control |
| Typical use | Simple gamma/contrast curves | Creative grading, LOG conversions |
| File format | .cube (1D variant), .lut | .cube (33x33x33 grid standard) |
| Quality | Limited, can look flat | Smooth, natural, film-quality results |
| Industry standard | Still used in calibration and camera pipelines | Yes, universally used |
Bottom line: if you are working with LUTs today, you are almost certainly using 3D LUTs. 1D LUTs still exist in some calibration workflows, but for color grading, 3D is the standard.
When You Would Actually Use a LUT
LUTs show up in almost every stage of a professional video workflow. Here are the scenarios where they matter most.
On Set (Monitoring)
When shooting in LOG, the footage looks washed out on the monitor. Many creators apply a preview LUT so they can see an approximation of the final look in real time. This does not affect the recorded file. It is purely for preview.
In Post-Production (Color Grading)
This is where most people encounter LUTs. The typical workflow looks like this: import your LOG footage, apply a technical LUT to convert to Rec.709, then layer a creative LUT on top to set the mood. From there, fine-tune manually.
On Your Phone
This is the part most guides skip entirely. You do not need a desktop setup to use LUTs anymore. LUT Studio lets you import .cube files directly on your iPhone and apply them to photos and videos at full resolution. It auto-detects your LOG format and handles the Rec.709 conversion automatically, so you can jump straight to creative grading without transferring footage to your computer.
LUT vs. Color Grading: What Is the Difference?
A LUT is not the same thing as color grading. This is the most common misconception out there.
Color grading is the full process: adjusting exposure, white balance, contrast, saturation, shadows, highlights, skin tones, color curves, vignettes, masks. It is the craft of making your footage look and feel a certain way.
A LUT is one tool inside that process. It handles one step, usually the initial color transform or the creative baseline. Sometimes that is all a shot needs. More often it is the point where the actual grading starts.
Around the LUT you still adjust exposure, correct white balance, and dial the intensity of the LUT itself back to taste. The LUT saves you time. The grading makes it yours.
New to grading itself? Our color grading for beginners guide walks through the controls that matter most.
How Do You Actually Apply a LUT?
The mechanics are simple once you know where the LUT slot lives in your software. DaVinci Resolve has a LUT browser on the Color page. Premiere Pro loads .cube files through the Lumetri Color panel. Final Cut Pro applies them through the Custom LUT effect. LUT Studio imports any .cube file straight from Files or AirDrop on iPhone and applies it at full resolution.
Our step-by-step guide walks through each of these tools, including where to find the LUT slot, how to blend the LUT back, and what to check before exporting.
7 Mistakes People Make with LUTs
1. Applying a creative LUT to LOG footage without converting first. The footage will look flat, washed out and muddy, because the LUT expects contrast and saturation that LOG deliberately does not have. Apply the technical LUT (LOG to Rec.709) before the creative one. There are exceptions: some LUTs are built specifically for LOG input. Most of the ones you find online expect Rec.709 footage.
2. Using a LUT designed for one LOG format on another. An S-Log3 LUT on Apple Log footage will not look right. LUTs are built for specific input color spaces. Match the LUT to your camera format.
3. Running the LUT at 100% intensity. Very few creative LUTs look good at full blast. Dial it back and let the subtlety do the work.
4. Skipping exposure and white balance correction. A LUT cannot fix a badly exposed shot. Exposure and white balance still need your attention, whatever else the LUT is doing.
5. Using free LUTs without checking quality. There are thousands of free LUTs online. Many are poorly built, clip highlights, or crush shadows. Test any LUT on a range of footage before committing to a project.
6. Expecting one LUT to carry every shot. A LUT that lands perfectly on one clip can miss on the next, because lighting, skin tones and exposure vary between shots. Check each clip after applying and adjust where it does not quite fit.
7. Downloading LUTs in the wrong format. Stick to .cube files. They are the universal standard. Some older formats (.3dl, .mga) have compatibility issues with modern software.
Where to Get LUTs
LUTs come from three main sources.
Built Into Your Software
DaVinci Resolve ships with a solid library of technical and creative LUTs. Premiere Pro and Final Cut have their own sets too. LUT Studio comes with a curated collection of creative LUTs built specifically for mobile footage, plus the technical conversions for all major LOG formats.
Third-Party LUT Packs
Companies like MotionArray, Color Grading Central, and individual colorists sell curated packs. Quality varies. Look for packs built by working colorists who show before-and-after examples on real footage, not just stills.
Create Your Own
Tools like DaVinci Resolve and 3D LUT Creator let you build custom LUTs from scratch. Once you dial in a look you love, you can export it as a .cube file and reuse it across projects or import it into mobile apps for on-the-go grading.
Using LUTs on iPhone: Why It Matters Now
Mobile color grading used to mean transferring everything to a desktop first. The apps either did not exist or were so limited that you still had to transfer everything to desktop.
That has changed. iPhone Pro models have shot Apple Log in 4K ProRes since the 15 Pro, and the 17 Pro added Apple Log 2 and ProRes RAW recording. The footage quality is genuinely professional. And with LUT Studio, you can import your own .cube LUTs, apply them at full resolution, and do your entire grade without leaving your phone.
If you are shooting on iPhone and still transferring to desktop just to apply a LUT, you are wasting time. The mobile tools have caught up.
Pro Tips for Working with LUTs
- Always preview a LUT on multiple shots before committing. A LUT that looks great on a sunset will behave completely differently on an indoor interview.
- Build a personal library of 5-10 go-to LUTs. You do not need 500. You need the ones you actually understand and can fine-tune quickly.
- Name your custom LUTs with the project, date, and look description. “Warm_Vintage_ProjectX_2026” is infinitely more useful than “Final_Look_v3.”
- If a LUT does not look right within 10 seconds, move on. Do not spend 20 minutes trying to fix a LUT that was not designed for your footage.
- Use the before/after comparison in your grading tool obsessively. Your eyes adapt fast. Toggling back and forth keeps your grade honest.
See What a LUT Actually Does
Reading about LUTs only gets you so far. The fastest way to understand them is to apply one. LUT Studio lets you import any .cube file, preview creative looks in real time, and see the before/after difference on your own footage.
Download LUT Studio for free on the App Store and see the difference a proper LUT workflow makes.
Reading about LUTs only gets you so far. The fastest way to understand them is to apply one. LUT Studio lets you import any .cube file, preview creative looks in real time, and see the before/after difference on your own footage.
Download LUT Studio for free on the App Store and see the difference a proper LUT workflow makes.
Download LUT StudioFrequently Asked Questions
What does LUT stand for?
LUT stands for Look-Up Table. It is a mathematical file that maps input color values to output color values. In video editing, LUTs transform the colors in your footage based on a predefined formula, letting you change the entire look of a clip in one step.
What is the difference between a 1D and 3D LUT?
A 1D LUT adjusts brightness on each color channel independently but cannot mix channels. A 3D LUT maps red, green, and blue together across a three-dimensional grid, allowing full control over hue, saturation, and brightness. 3D LUTs are the industry standard for color grading.
Can you use LUTs on iPhone?
Yes. Apps like LUT Studio let you import .cube LUT files directly on iPhone and apply them to photos and videos at full resolution. If you shoot in Apple Log, the app handles the technical conversion automatically.
Are free LUTs worth using?
Some are. Many are poorly built and clip highlights or crush shadows. Test any free LUT on a variety of footage before using it on a real project. Built-in LUTs from professional software are usually more reliable.
Do you need a LUT to color grade?
No. You can grade footage entirely with manual adjustments. But LUTs speed up the process significantly by giving you a strong starting point. Most professionals use LUTs as a baseline and fine-tune from there.
What file format are LUTs?
The universal standard is .cube. Almost every editing application supports it, from DaVinci Resolve and Premiere Pro on desktop to mobile apps like LUT Studio. Older formats like .3dl and .mga exist but have limited compatibility.
Can you create your own LUT?
Yes. DaVinci Resolve, 3D LUT Creator, and other grading tools let you build a custom look and export it as a .cube file. You can then reuse it across projects or import it into mobile apps.
Do you need to convert LOG footage before applying a creative LUT?
Usually yes. Apply the technical LUT (e.g., Apple Log to Rec.709) first, then the creative LUT on top. The conversion normalizes the footage so the creative LUT behaves as its maker intended. Some creative LUTs are built for LOG input directly and skip that step.